

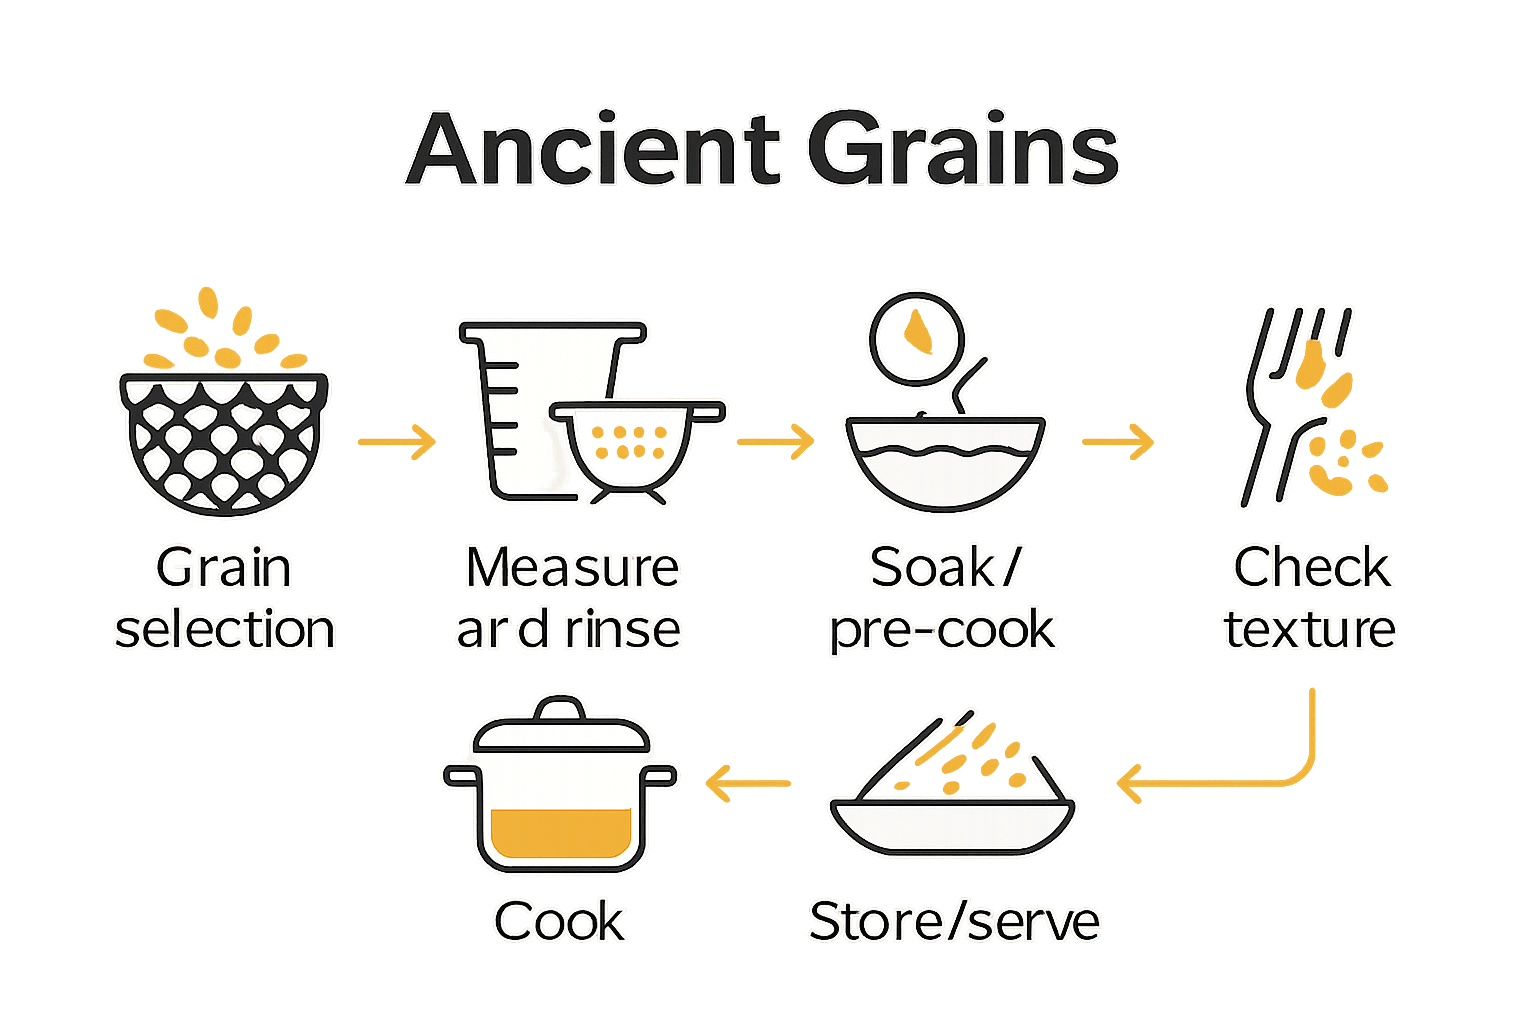
Ancient Grains Preparation Guide: Step-by-Step Mastery
British kitchens are rediscovering the power of ancient grains, with more than 60 percent of households now incorporating them into weekly meals. These time-honoured grains offer a wealth of health benefits, supporting goals from better digestion to balanced energy. Navigating the world of ancient grains can seem daunting, but learning how to select, prepare, and serve them unlocks nutritious possibilities for your table. Get ready to make every grain count in your daily routine.
Table of Contents
- Step 1: Select The Right Ancient Grains For Your Goals
- Step 2: Measure And Rinse Grains Correctly
- Step 3: Soak Or Pre-Cook For Improved Digestion
- Step 4: Cook Using Traditional Or Modern Methods
- Step 5: Verify Texture And Nutritional Integrity
- Step 6: Serve And Store For Maximum Freshness
Quick Summary
| Key Point | Explanation |
|---|---|
| 1. Choose grains based on health goals | Select ancient grains like millet for blood sugar management, or quinoa for protein, aligning choices with your specific health objectives. |
| 2. Measure and rinse grains accurately | Use standard measuring cups and rinse grains thoroughly to maximize nutrient absorption and remove bitterness from natural saponins. |
| 3. Soak grains for better digestion | Soaking grains for 8 to 12 hours helps reduce antinutrients and enhances the bioavailability of minerals, aiding nutrient absorption. |
| 4. Cook grains using proper methods | Traditional boiling or modern techniques should be employed to ensure each grain is cooked appropriately, preserving its nutritional value. |
| 5. Store grains correctly for freshness | Store cooked grains in airtight containers in the fridge, or freeze portions for easy access, maintaining their quality and nutrition. |
Step 1: Select the Right Ancient Grains for Your Goals
Choosing the right ancient grains requires understanding your personal health objectives and matching them with specific nutritional profiles. According to Academy Healing Nutrition, different ancient grains offer unique benefits that can support various wellness goals.
Start by mapping out your primary nutritional needs. If blood sugar management is your focus, Oxford Brookes Centre for Nutrition and Health highlights millet as an exceptional choice, with research indicating its high fiber content can help regulate glucose levels. For those seeking protein rich alternatives, quinoa and amaranth stand out as complete protein sources packed with essential amino acids.
When selecting your ancient grains, consider these strategic selection criteria: nutrient density, protein content, fibre profile, and compatibility with your existing diet. Prioritise grains that align with your specific health objectives whether that’s improved digestion, sustained energy, muscle recovery, or metabolic balance. Pro tip: Always introduce new grains gradually and observe how your body responds, ensuring optimal integration into your nutritional plan.
Your next step involves understanding proper preparation techniques that maximise these remarkable grains’ nutritional potential.
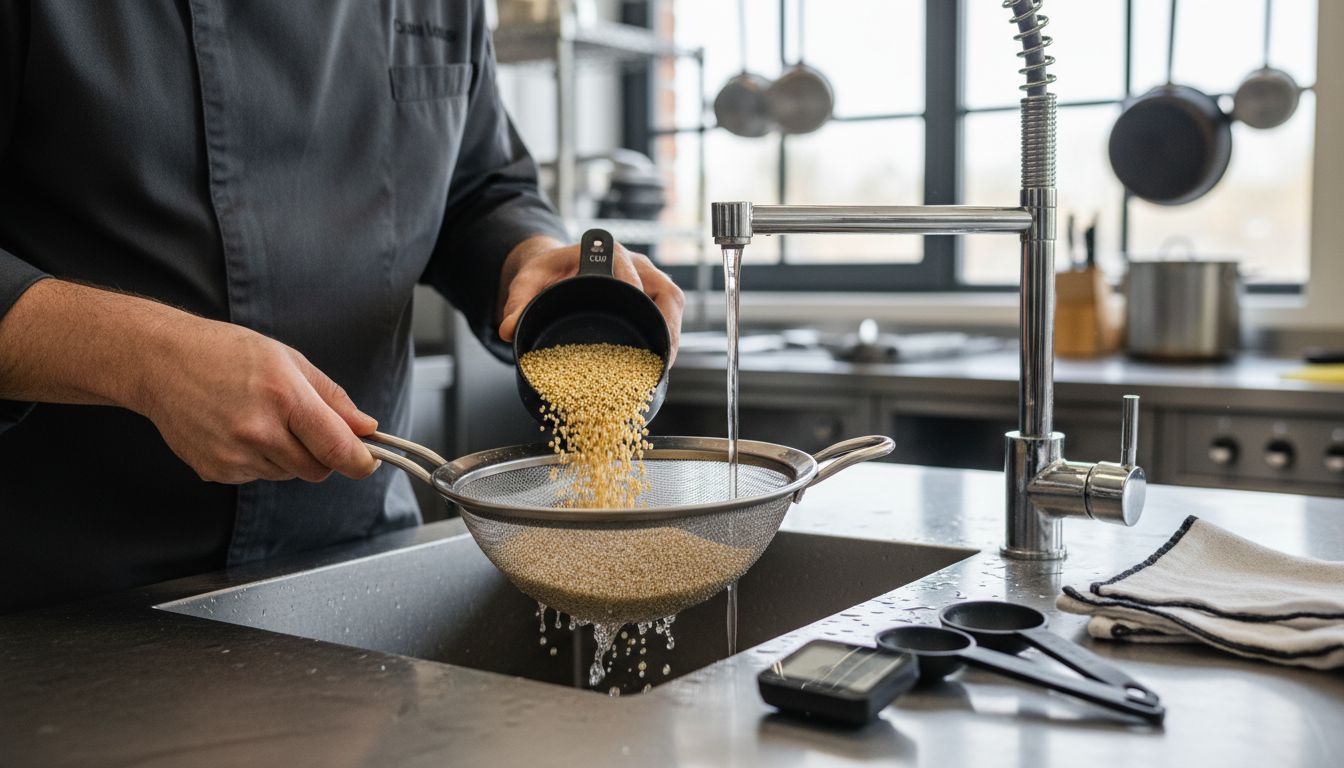
Step 2: Measure and Rinse Grains Correctly
Preparing ancient grains begins with precise measurement and thorough rinsing, a critical process that ensures optimal nutritional absorption and culinary success. Academy Healing Nutrition emphasises that proper preparation techniques are essential for maximising these nutrient dense foods.
Measurement requires careful attention. Use standard measuring cups designed for dry ingredients with each grain type. For most ancient grains like quinoa or millet, a standard ratio is one part grain to two parts water. Rinsing is equally important according to Oxford Brookes Centre for Nutrition and Health, who recommend using a fine mesh strainer to remove natural saponins and reduce potential bitterness. Run cool water over your grains gently but thoroughly, moving them around to ensure complete cleansing.
A professional kitchen tip is to soak certain grains like amaranth or millet for 30 minutes before cooking, which can further improve digestibility and reduce cooking time. Always pat grains dry after rinsing to maintain the correct water absorption ratio during cooking.
 Your next step will involve selecting the perfect cooking method to transform these beautifully prepared grains into a nutritious meal.
Step 3: Soak or Pre-Cook for Improved Digestion
Optimising the digestibility of ancient grains involves strategic soaking and pre-cooking techniques that unlock their nutritional potential. Academy Healing Nutrition highlights that this preparatory process can significantly reduce antinutrients and enhance overall nutrient absorption.
For most ancient grains, begin by soaking in cool water for 8 to 12 hours. According to Oxford Brookes Centre for Nutrition and Health, this method helps break down complex carbohydrates and can improve blood sugar regulation. Drain and rinse the grains thoroughly after soaking, which removes phytic acid and makes minerals more bioavailable. Some grains like quinoa benefit from a quick pre-boil method where you simmer them for 5 minutes before the main cooking process, further improving digestibility.
A crucial pro tip is to experiment with soaking times and methods for different grains. Amaranth might require less soaking time compared to millet, while buckwheat could need a different approach altogether. Always monitor your grains during soaking to prevent fermentation and maintain their optimal nutritional profile.
Step 4: Cook Using Traditional or Modern Methods
Cooking ancient grains requires a thoughtful approach that balances traditional wisdom with contemporary culinary techniques. Academy Healing Nutrition suggests exploring diverse cooking methods that preserve the nutritional integrity of these remarkable grains while creating delicious meals.
Traditional boiling remains the most straightforward method for most ancient grains. According to Oxford Brookes Centre for Nutrition and Health, each grain requires a slightly different cooking approach. For instance, quinoa typically needs a 1:2 grain to water ratio and about 15 minutes of simmering, while millet might require a 1:3 ratio and slightly longer cooking time. Modern techniques like rice cookers, pressure cookers, and even microwave methods can offer convenient alternatives that maintain nutritional value.
A professional tip is to experiment with different cooking liquids to enhance flavour. Try replacing water with vegetable broth, coconut milk, or herbal teas to transform your grains from simple side dishes to culinary experiences. Always allow your cooked grains to rest for 5 to 10 minutes after cooking, which helps them absorb remaining moisture and achieve a perfect fluffy texture. Your next step involves learning how to store and preserve these beautifully prepared ancient grains for maximum freshness and nutrition.
Step 5: Verify Texture and Nutritional Integrity
The final stage of preparing ancient grains involves carefully assessing their texture and ensuring their nutritional quality remains intact. Academy Healing Nutrition emphasises the critical importance of monitoring the cooking process to maintain both palatability and nutritional value.
Perfect grain preparation requires a keen eye and subtle touch. According to Oxford Brookes Centre for Nutrition and Health, ideal texture varies between different grains. For quinoa, look for a translucent spiral germ that separates from the seed and a fluffy yet slightly firm consistency. Millet should appear soft but not mushy, with individual grains remaining distinct. Use a fork to gently fluff and separate the grains, which helps release excess moisture and prevents clumping.
A professional tip is to conduct a sensory test beyond visual inspection. Taste a small sample to confirm the grain has the right balance of tenderness and bite. The grains should feel fully cooked but not disintegrating, with a nutty or slightly earthy flavour characteristic of properly prepared ancient grains. If the texture seems off, you can often rescue slightly undercooked grains by adding a few tablespoons of warm water and continuing to cook for a few more minutes. Your culinary journey with ancient grains is now complete, ready to transform your meals with nutritious and delicious ingredients.
Step 6: Serve and Store for Maximum Freshness
The final art of working with ancient grains involves thoughtful serving and intelligent storage strategies that preserve their remarkable nutritional profile. Academy Healing Nutrition provides comprehensive guidance on transforming these versatile ingredients into delightful culinary experiences while maintaining their optimal quality.
Storage requires precision and care. According to Oxford Brookes Centre for Nutrition and Health, cooked ancient grains should be transferred to airtight containers and refrigerated within two hours of cooking. For uncooked grains, choose cool dry locations in sealed containers that protect against moisture and potential insect contamination.
 Cooked grains typically maintain peak quality for three to five days when refrigerated, with quinoa and millet performing particularly well in these conditions.
A professional tip is to portion your grains before storage to simplify meal preparation. Consider freezing surplus cooked grains in individual portions using freezer safe containers or resealable bags. This approach allows you to quickly defrost exactly the quantity you need while preserving nutritional integrity. When serving, experiment with temperature and accompaniments: ancient grains can be enjoyed warm as a comforting base, chilled in salads, or at room temperature in creative grain bowls. Your culinary journey with ancient grains has now equipped you with comprehensive skills to transform these nutritional powerhouses into delicious meals.
Master Your Ancient Grains Journey with Granavitalis
Struggling to find pure, nutrient-dense ancient grains that meet your health goals and cooking finesse? This guide highlights the challenges of selecting, preparing and preserving ancient grains to boost digestion, balance energy and enhance flavour. Whether you aim for blood sugar control, improved digestion or sustained energy, the right ingredients matter.
Discover the difference of naturally rich grains in our curated Grains – Granavitalis collection.

Unlock the full potential of your meals by choosing traditionally rooted and thoughtfully sourced flours from All Flours – Granavitalis and explore options for sensitive diets with our Gluten Free Flours – Granavitalis. Every pack connects you to simple, clean nutrition that honours the past while powering your lifestyle today. Start your journey at Granavitalis now to fuel your body with foods that promise purity, performance and purpose.
Frequently Asked Questions
How do I select the best ancient grains for my health goals?
Choosing the right ancient grains involves understanding your specific health objectives, such as blood sugar management or protein intake. Start by identifying your needs and match them with grains like quinoa for protein or millet for fibre, beginning your journey toward better nutrition.
What is the correct way to measure and rinse ancient grains?
To measure ancient grains, use standard measuring cups and follow the typical ratio of one part grain to two parts water for cooking. Rinse the grains using a fine mesh strainer under cool running water for thorough cleansing, ensuring to remove any bitterness before cooking.
How long should I soak ancient grains for improved digestion?
Most ancient grains benefit from soaking in cool water for 8 to 12 hours, which helps reduce antinutrients and enhances nutrient absorption. After soaking, drain and rinse the grains to ensure they are ready for cooking, making them easier on your digestive system.
What are the most effective cooking methods for ancient grains?
You can cook ancient grains using traditional methods like boiling with the appropriate water-to-grain ratio or modern techniques such as using rice cookers or pressure cookers. Each grain has its specific needs, so experiment with your preferred method to preserve nutrition while enhancing flavour.
How can I ensure the texture and nutritional integrity of cooked ancient grains?
To check the texture of your cooked grains, look for distinct grains and a proper fluffiness, adjusting cooking times if necessary. Taste a small sample to ensure the right balance between tenderness and bite, allowing for adjustments to maintain both texture and nutrition.
What is the best way to store cooked ancient grains for freshness?
Store cooked ancient grains in airtight containers within two hours of cooking to maintain their quality. Refrigerate them for up to five days, and consider portioning them for convenience, freezing surplus for later use while preserving their nutritional value.
Recommended
- How to Use Ancient Grains for Nutritious Breakfasts – Granavitalis
- How to Incorporate Ancient Grains for Healthier Meals – Granavitalis
- Modern Ancient Grain Recipes for Energising Breakfasts – Granavitalis
- The Hidden Cost of “Modern” Grains — And Why Ancient Grains Belong Bac – Granavitalis
- Easy Overnight Oats Recipes for Quick Healthy Mornings - Dietium